
In a manner most unlike me, i have been incredibly productive this weekend and as a result have made plenty of progress with the helms deep terrain project- it'll be interesting to see how long i can keep this up for!

As with before, this post will mainly be a long list of pictures but i shall do my best to provide some sort of commentary-type-thing, explaining whats going on.
Firstly, i decided to break the mold in the way that i work and make a plan.. so, out came my trusty black marker and i set to work on the base for the keep. Being built into the side of a cliff, the base obviously would have to be quite high, so i rummaged around the garage and found some large sheets of polystyrene.
I shaped them with my hotwire cutter and with a heated knife for the larger sections.

The sheets were then glued together with a generous helping of PVA and left to dry.
On to the outer wall...

Some more wall-maker panels were cast and glued to create the wall leading to the tower of the hornburg.
In order to make the wall bigger on the inside than on the out, i extended the interior with some basic blocks and the outside with polystyrene (ready to be shaped into rocks later).


Using blocks from the 8" circular tower i created a curve to the end of my wall section so that it would connect with the games-workshop gate house that i showed in the first post.
This was actually alot harder than i had expected, as the blocks have a nasty habit of not lining up straight and therefore required plenty of sanding to make level. (it should be noted that this 'problem' comes from my casting technique and not the quality of the molds.)

The curved wall and the tower (made from the octagonal tower molds as before) were secured using LOTS of glue from the hot glue gun and even abit of pva. The gaps were then filled using polyfila at a later date.


By now it was getting very late, but i wouldn't stop until i'd finished the section.. dedication eh?
so i made some supports for the flooring out of some thick-ish cardboard, securing it with pva and the glue gun.

In hindsight i should have let that to dry first but in a rush to go to sleep i started covering the top of the wall with polyfila and doing my best to smooth it flat.
The next day i penciled on the floor tiles and using an old knife (not the one in the picture) i began to carve out the gaps between tiles. This alone took a silly amount of time but looked very effective when finished.
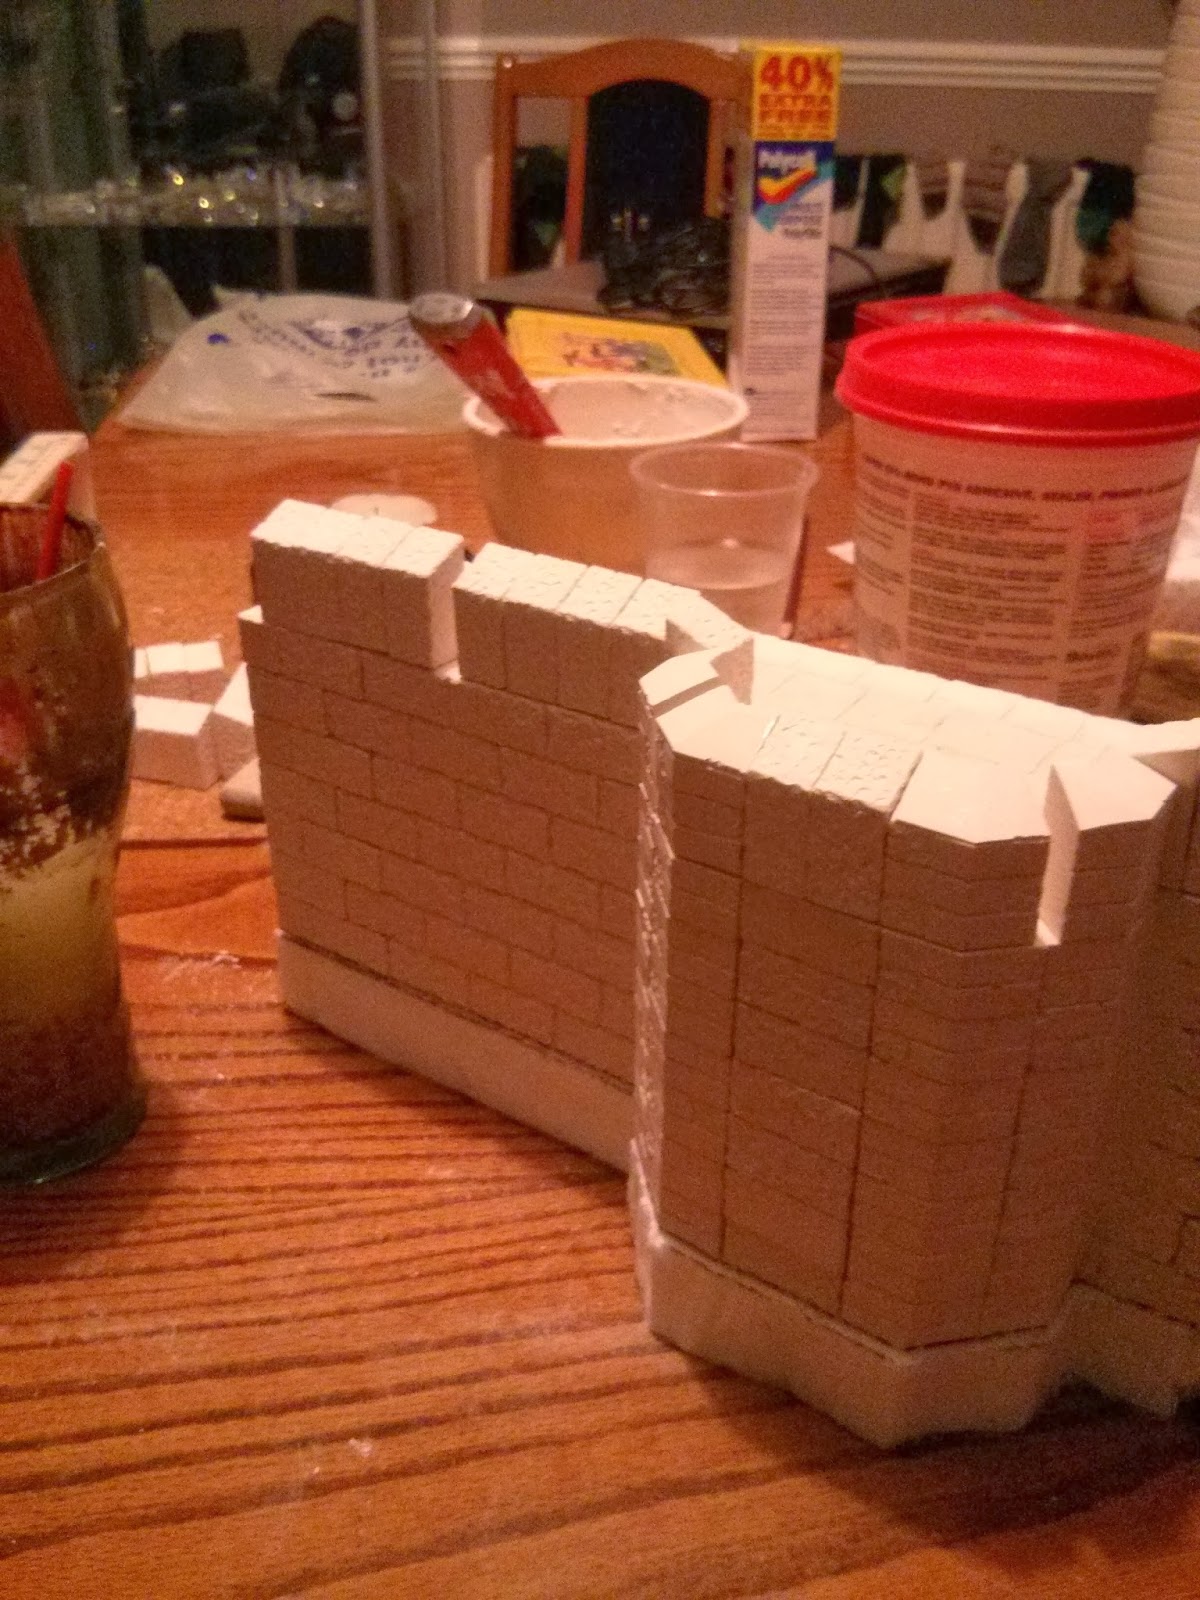
The next job was to create the battlements. In general these were created in exactly the same way as i did with the deeping wall.

The one exception is the damaged and repaired section pictured here. To create this i found some miscasts that i'd kept from my early casting experiments and am planning on using either greenstuff or even small gravel to finish it of...

Clearly still a work in progress but certainly the making of a nice detail.
 |
| The build so far.. (minus the flooring and battlements) |

anyways, for now i'm tired.. and i've already inundated you all with enough pictures for today.. so until next time, i hope you're enjoying the project and accompanying blog- feel free to comment :)